Quest3を購入しました。
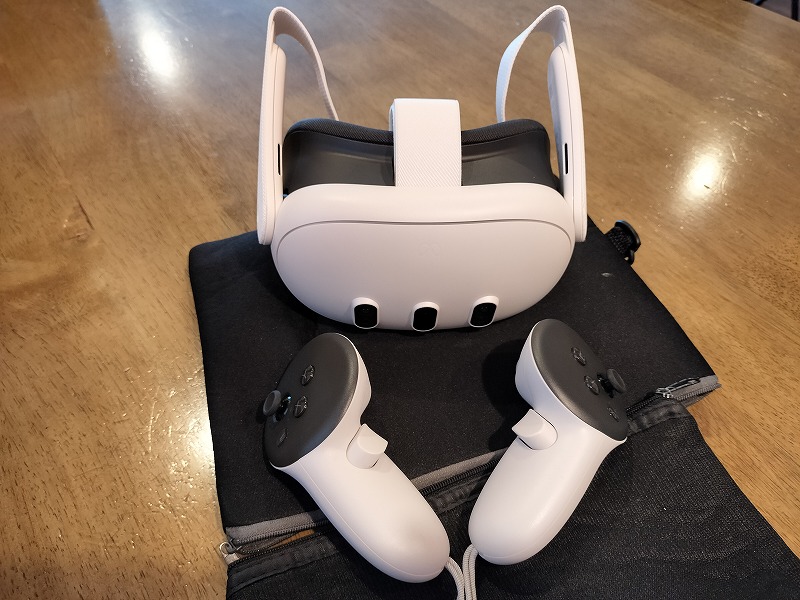
購入すると開発意欲がもりもり湧いてきますね!
というわけで、今回はOculus Integration V57を使って、Quest3アプリを作成してみたいと思います。

Unity Hubよりプロジェクトを作成します。
Unity Hubは、Version3.6.1を使用しています。
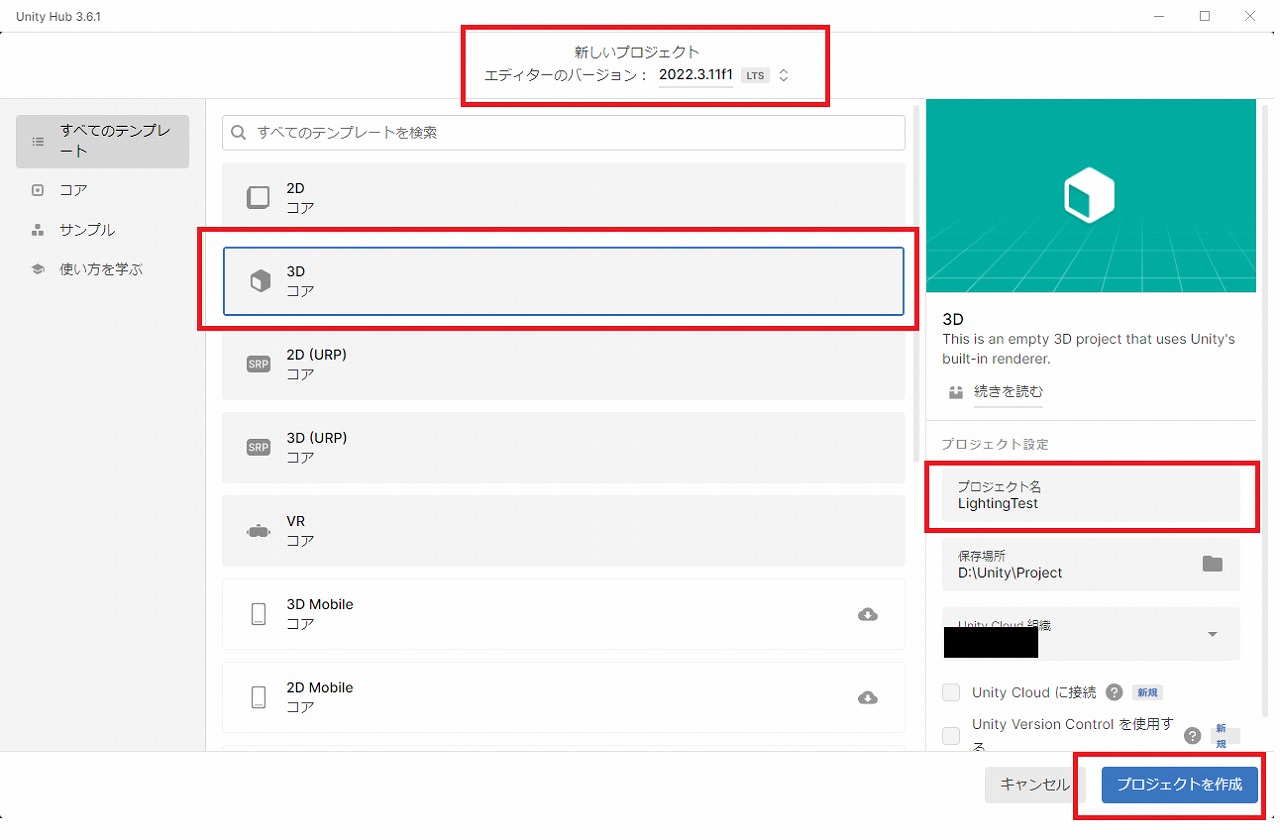
テンプレートは無難に3Dを使用します。
Oculus Integrationをプロジェクトにインストールします。
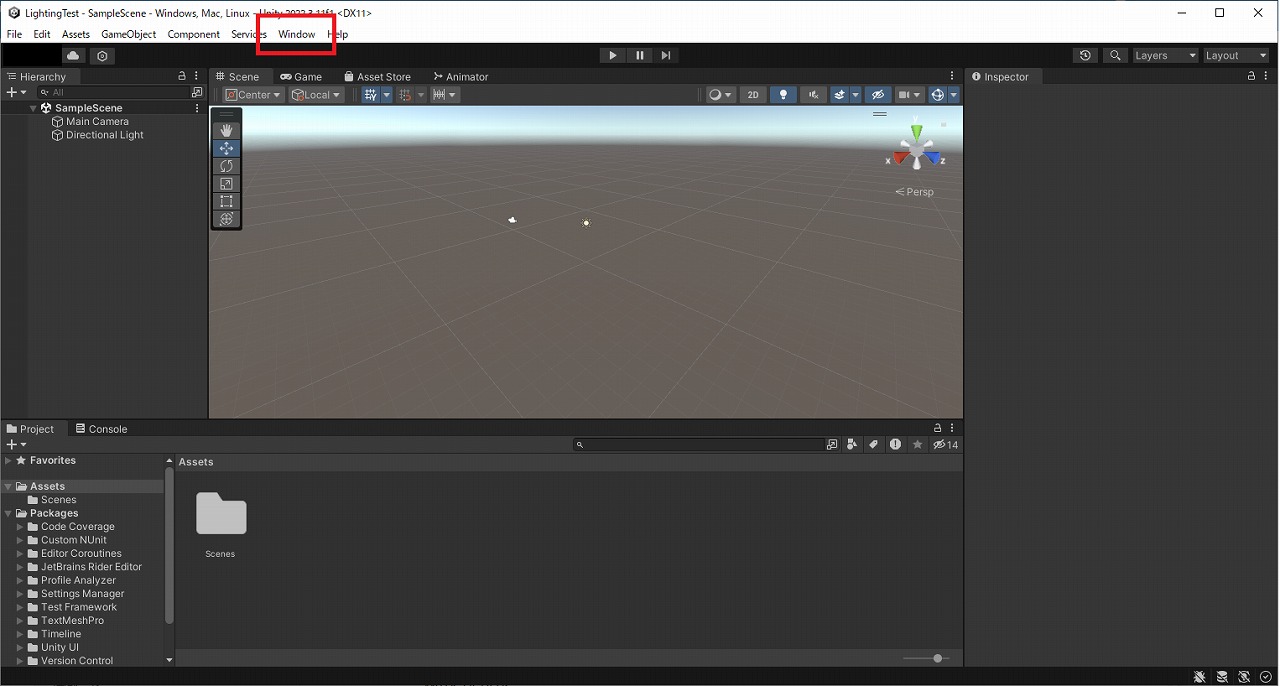
上部タブより「Window」をクリック。
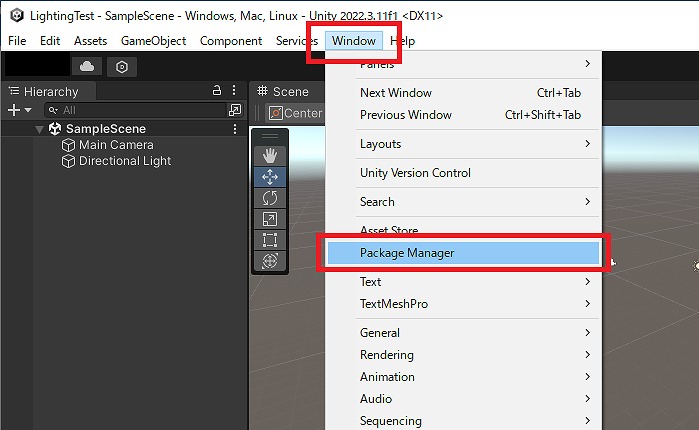
「Package Manager」を選択。
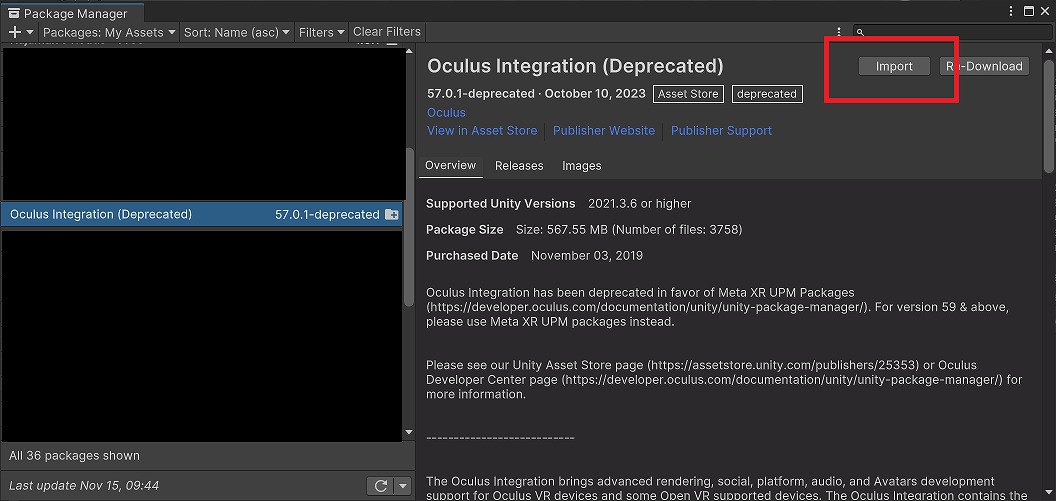
Oculus Integrationをインポートしますが、「Deprecated」の表記。
Oculus Integration has been deprecated in favor of Meta XR UPM Packages (https://developer.oculus.com/documentation/unity/unity-package-manager/). For version 59 & above, please use Meta XR UPM packages instead.
Please see our Unity Asset Store page (https://assetstore.unity.com/publishers/25353) or Oculus Developer Center page (https://developer.oculus.com/documentation/unity/unity-package-manager/) for more information.
Oculus Integration は廃止され、Meta XR UPM パッケージ (https://developer.oculus.com/documentation/unity/unity-package-manager/) が採用されました。 バージョン 59 以降の場合は、代わりに Meta XR UPM パッケージを使用してください。
詳細については、Unity Asset Store ページ (https://assetstore.unity.com/publishers/25353) または Oculus Developer Center ページ (https://developer.oculus.com/documentation/unity/unity-package-manager/) をご覧ください。 詳しくは。
Meta XR UPM パッケージに移行されるようですが、今回はこのまま進めます。
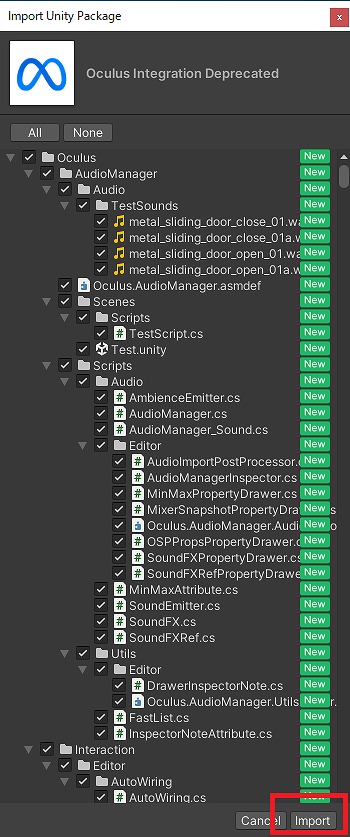
今回はお試しということで、すべてインポートします。
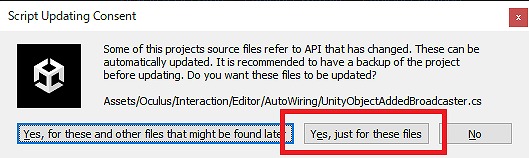
Some of this projects source files refer to API that has changed. These can be automatically updated. It is recommended to have a backup of the project before updating. Do you want these files to be updated?
このプロジェクトのソース ファイルの一部は、変更された API を参照しています。 これらは自動的に更新できます。 更新する前にプロジェクトのバックアップを作成することをお勧めします。 これらのファイルを更新しますか?
Yes,just for these and other files that might be found files.
はい、これらのファイルと、ファイルが見つかる可能性のあるその他のファイルに対してのみです。
更新しても問題ないので、「Yes,just for these files.(はい、これらのファイルのみです。)」を選択。

Allow Meta to collect usage data on it’s SDKs, such as feature and resource usage along with software identifiers such as package name, class names and plugin configuration. This data helps improve the Meta SDKs and is collected in accordance with Meta’s Privacy Policy.
Meta が、パッケージ名、クラス名、プラグイン構成などのソフトウェア識別子とともに機能やリソースの使用状況など、SDK の使用状況データを収集できるようにします。 このデータは Meta SDK の改善に役立ち、Meta のプライバシー ポリシーに従って収集されます。
問題がないので、「Send usage statistics.(使用状況統計を送信します。)」を選択。
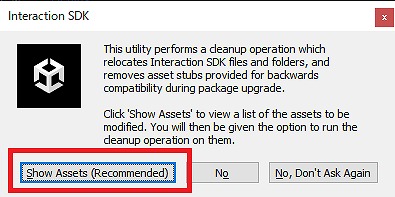
This utility performs a cleanup operation which relocates Interaction SDK files and folders, and removes asset stubs provided for backwards compatibility during package upgrade.
Click ‘Show Assets’ to view a list of the assets to be modified. You will then be given the option to run the cleanup operation on them.
このユーティリティは、Interaction SDK ファイルとフォルダーを再配置するクリーンアップ操作を実行し、パッケージのアップグレード中に下位互換性のために提供されたアセット スタブを削除します。
「Show Assets」をクリックして、変更するアセットのリストを表示します。 次に、それらに対してクリーンアップ操作を実行するオプションが表示されます。
おすすめされる通り、「Show Assets」をクリック。
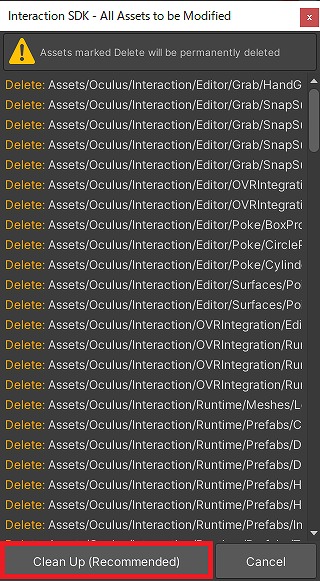
推奨される通り、「Clean Up」を選択。
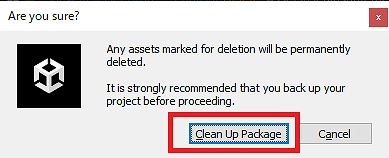
Any assets marked for deletion will be permanently deleted.
It is strongly recommended that you back up your project before proceeding.
削除対象としてマークされたアセットは完全に削除されます。
続行する前にプロジェクトをバックアップすることを強くお勧めします。
今回は試行なので、そのまま「Clean Up Package」を実行します。
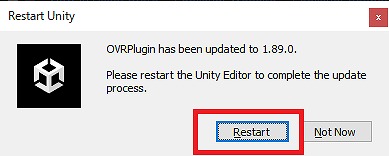
OVRPlugin has been updated to 1.89.0.
Please restart the Unity Editor to complete the update process.
OVRPlugin が 1.89.0 に更新されました。
更新プロセスを完了するには、Unity エディターを再起動してください。
「Restart」を選択。
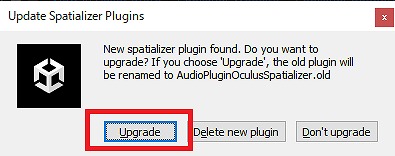
New spatializer plugin found. Do you want to upgrade? If you choose ‘Upgrade’, the old plugin will be renamed to AudioPluginOculusSpatializer.old
新しいスペーシャライザー プラグインが見つかりました。 アップグレードしますか? 「アップグレード」を選択すると、古いプラグインの名前が AudioPluginOculusSpatializer.old に変更されます。
おすすめされるまま、「Upgrade」を選択。
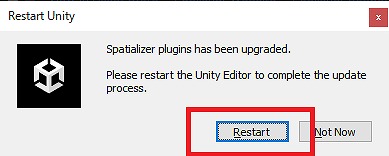
Spatializer plugins has been upgraded.
Please restart the Unity Editor to complete the update process.
Spatializer プラグインがアップグレードされました。
更新プロセスを完了するには、Unity エディターを再起動してください。
「Restart」を押すと、自動的にUnityエディターが再起動します。
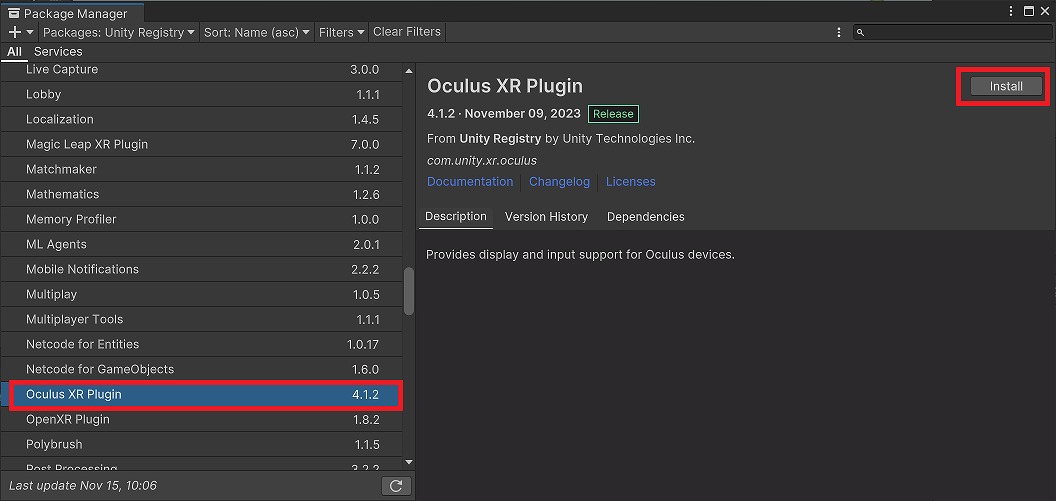
併せて、「Oculus XR Plugin」をインストールします。
バージョンは、4.1.2を使用します。
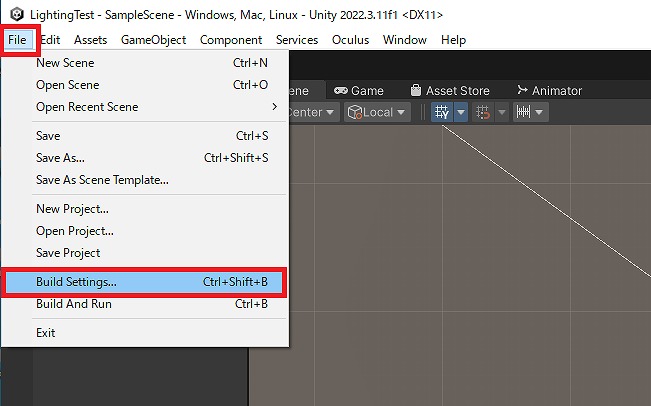
インストール後、Build Settingsを見直します。
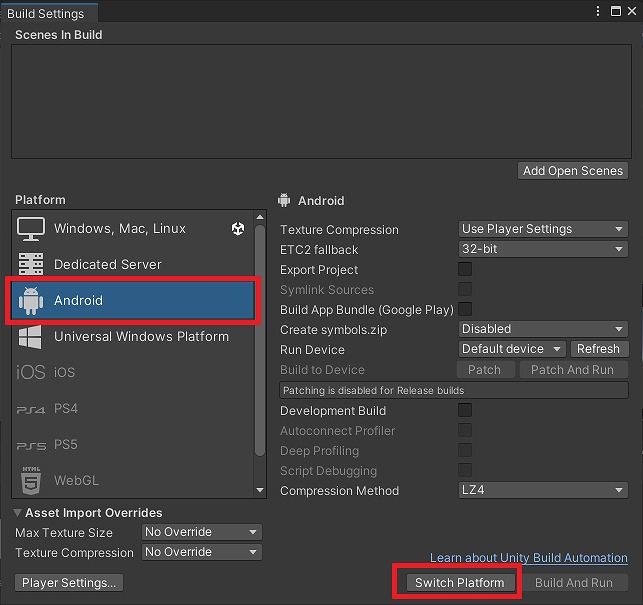
Quest3はAndroidベースなので、Androidを選択して「Switch Platform」します。
結構な時間がかかります。
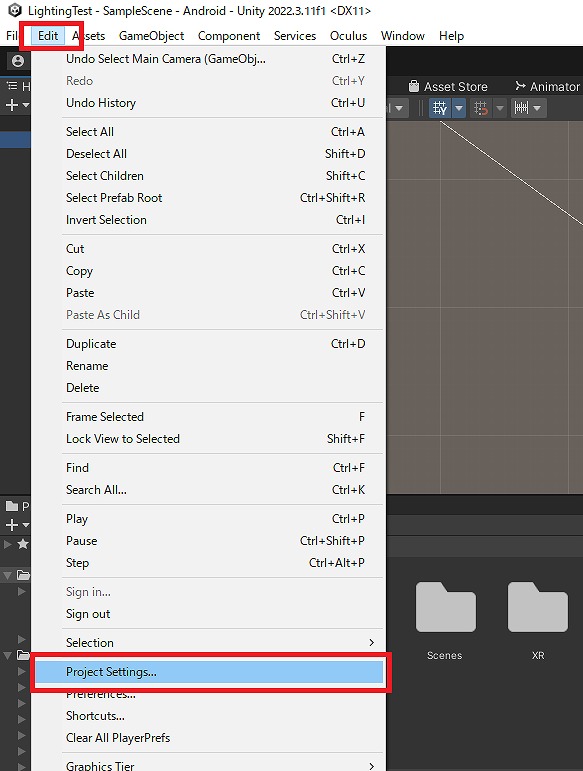
Project Settingsを見直します。
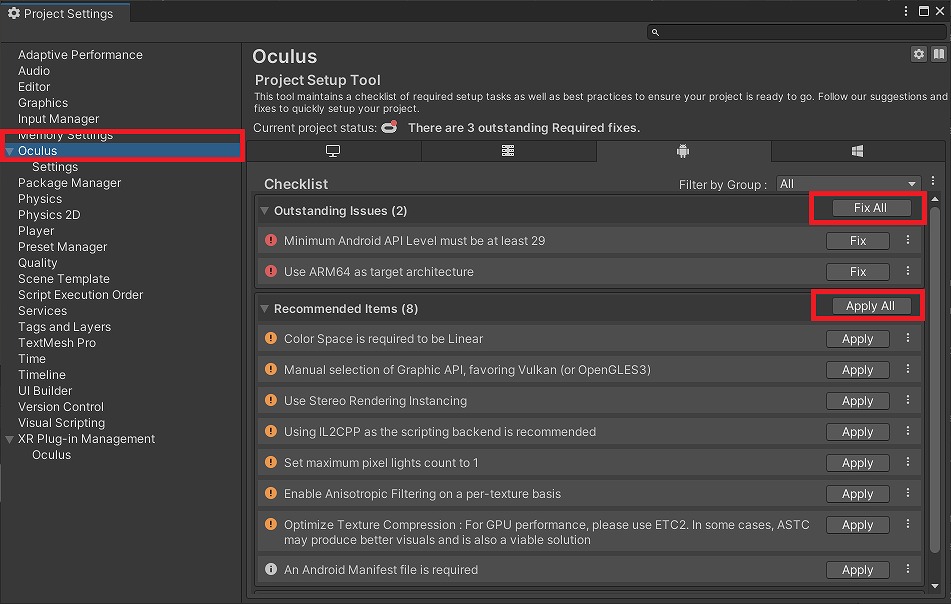
「Oculus」で、Checklistをすべて「Fix All」「Apply All」します。
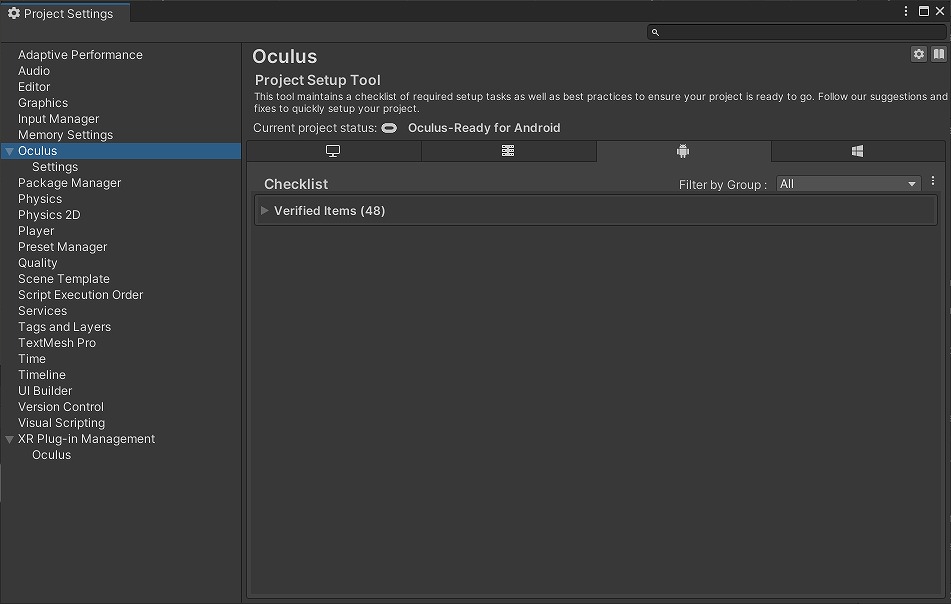
このように何もでなくなればOKです。
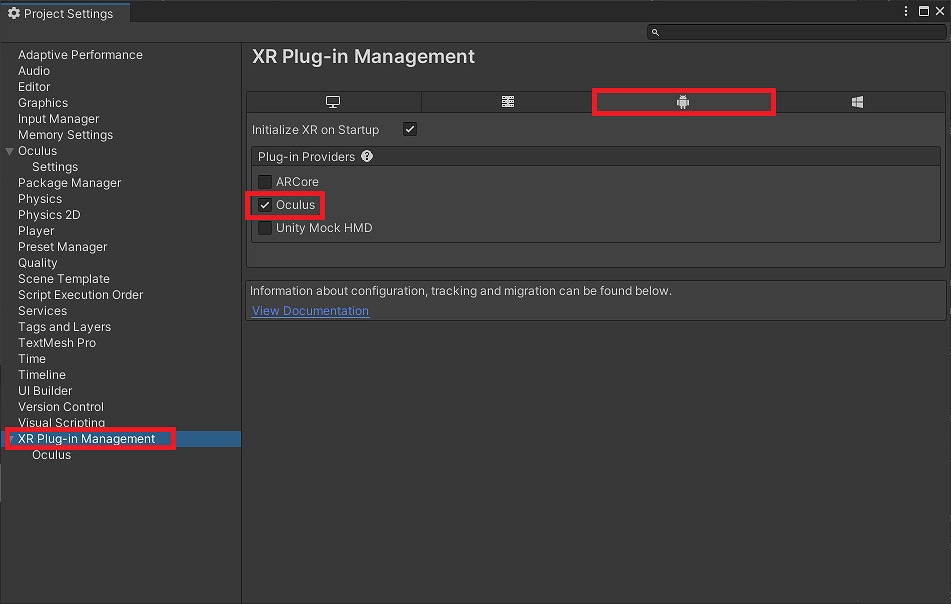
「XR Plug-in Management」で、AndroidタブのPlug-in Providersの「Oculus」にチェックを付けます。
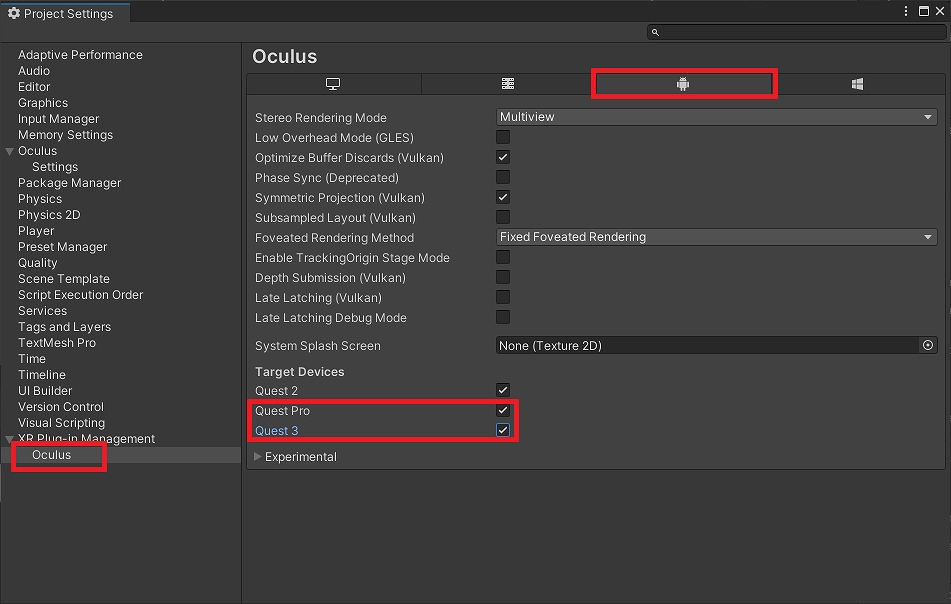
「XR Plug-in Management」以下の「Oculus」で、Androidタブの「Target Devices」に「Quest3」を追加します。
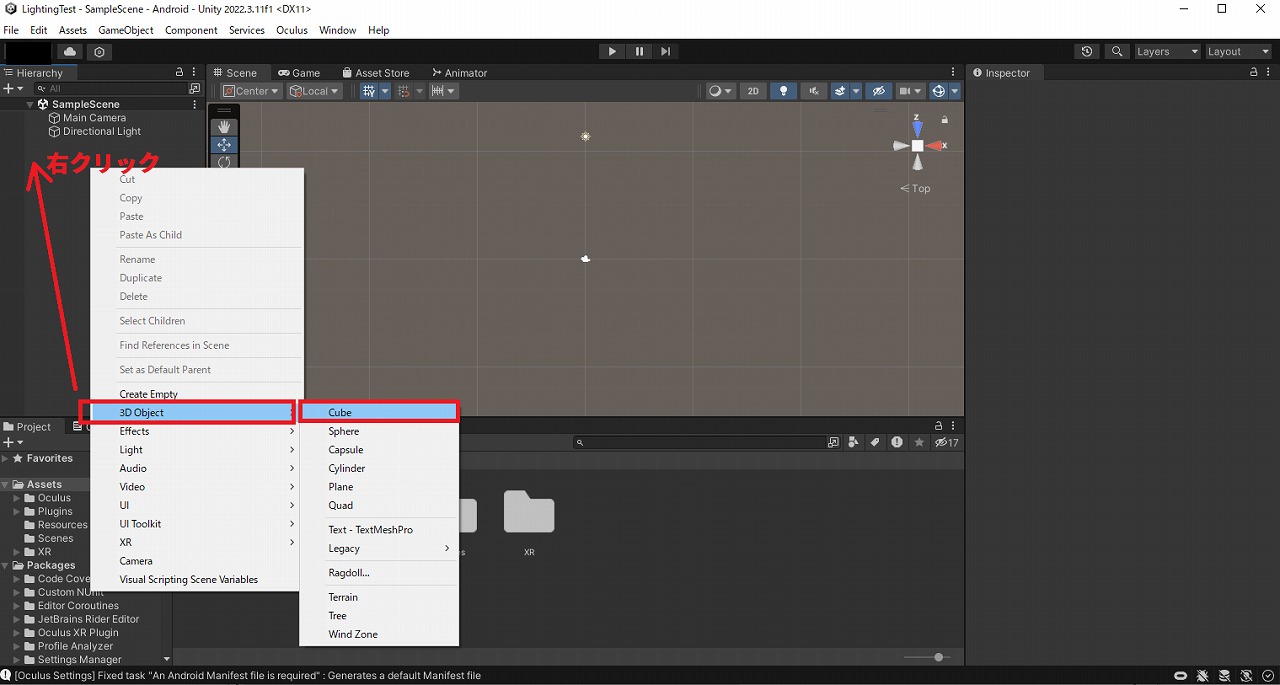
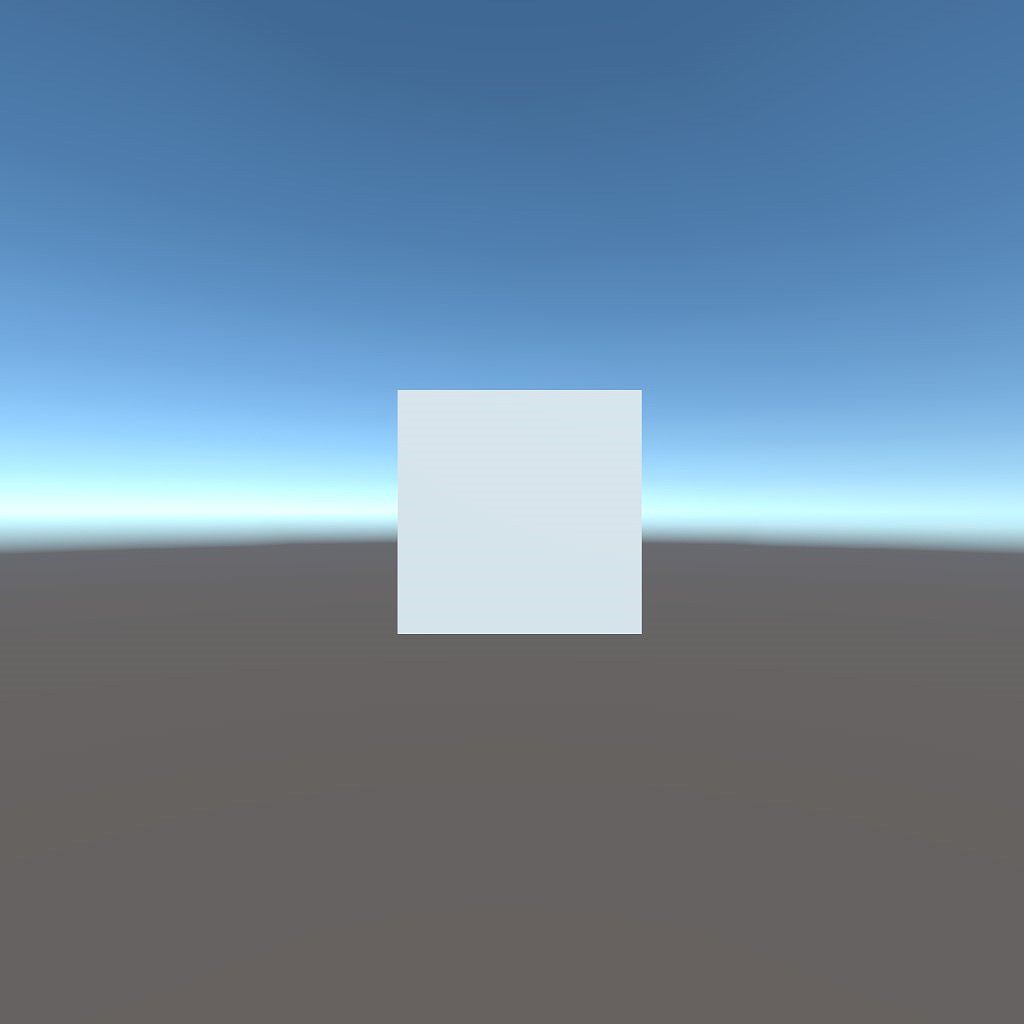
ここまででビルドすれば、Quest3でアプリが起動するはずですが、何もないとよくわからないので豆腐(キューブ)を追加します。
「Hierarchy」ウィンドウで右クリックをして、「3D Object-Cube」を選択し、キューブオブジェクトを追加します。
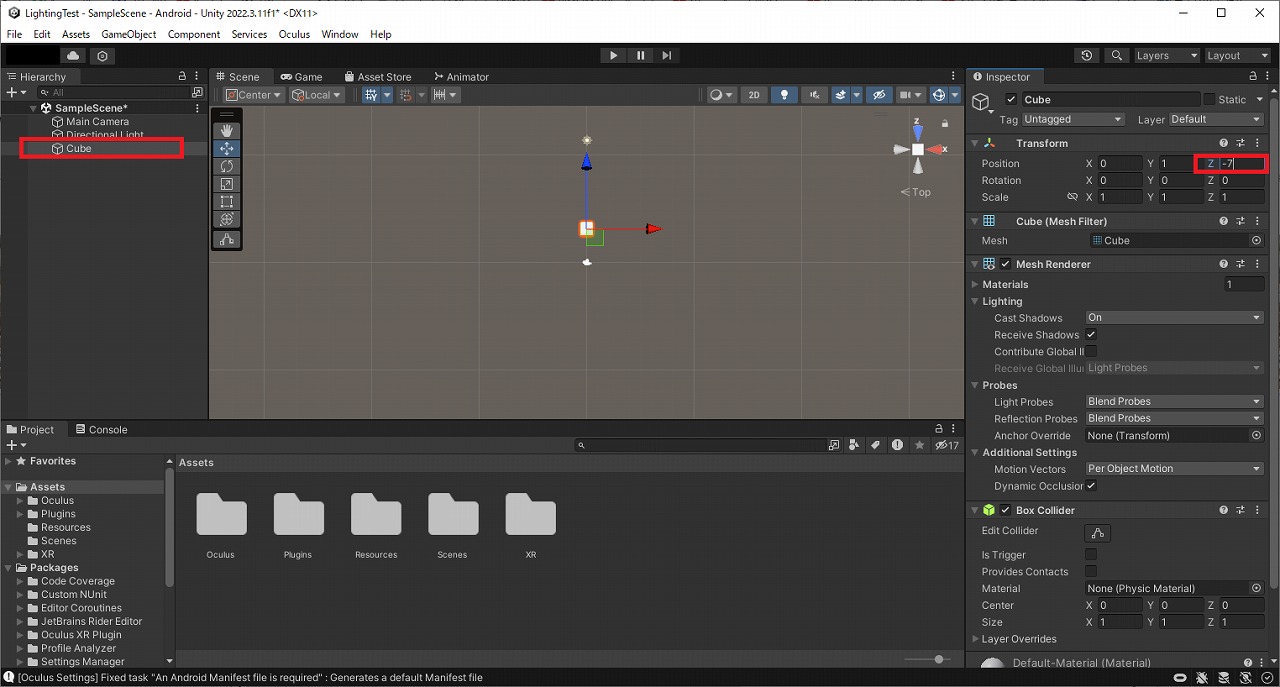
キューブが原点に配置されますが、わかりにくいのでキューブのInspectorウィンドウからTranformのZの値を「-7」に変更します。
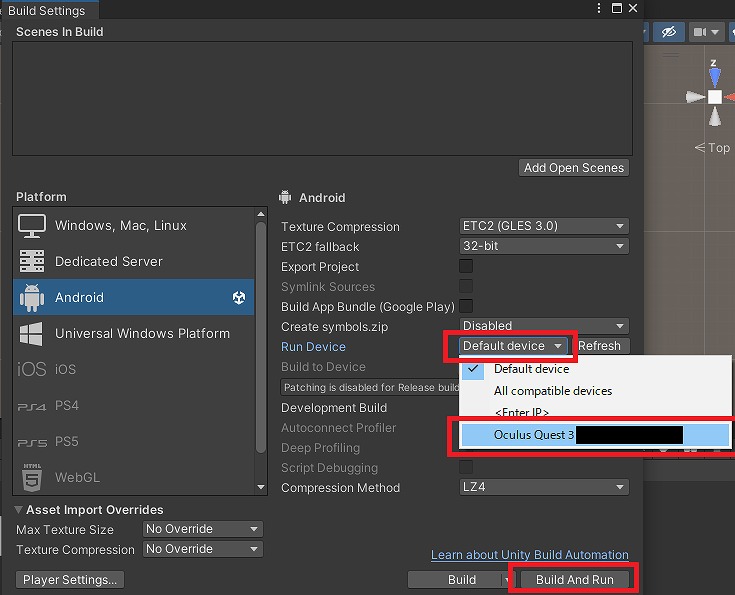
Quest3にビルドします。
Build Settingsから、「Run Device」の項目をDefault deviceから「Oculus Quest3 —–」に変更します。
この項目に実機が表示されるためには、Quest3の開発者設定を完了し、Oculus Link等でPCとQuest3が接続されている必要があります。

apkの出力場所の指定。
プロジェクトフォルダ直下に保存します。
保存をクリックするとビルドが始まります。
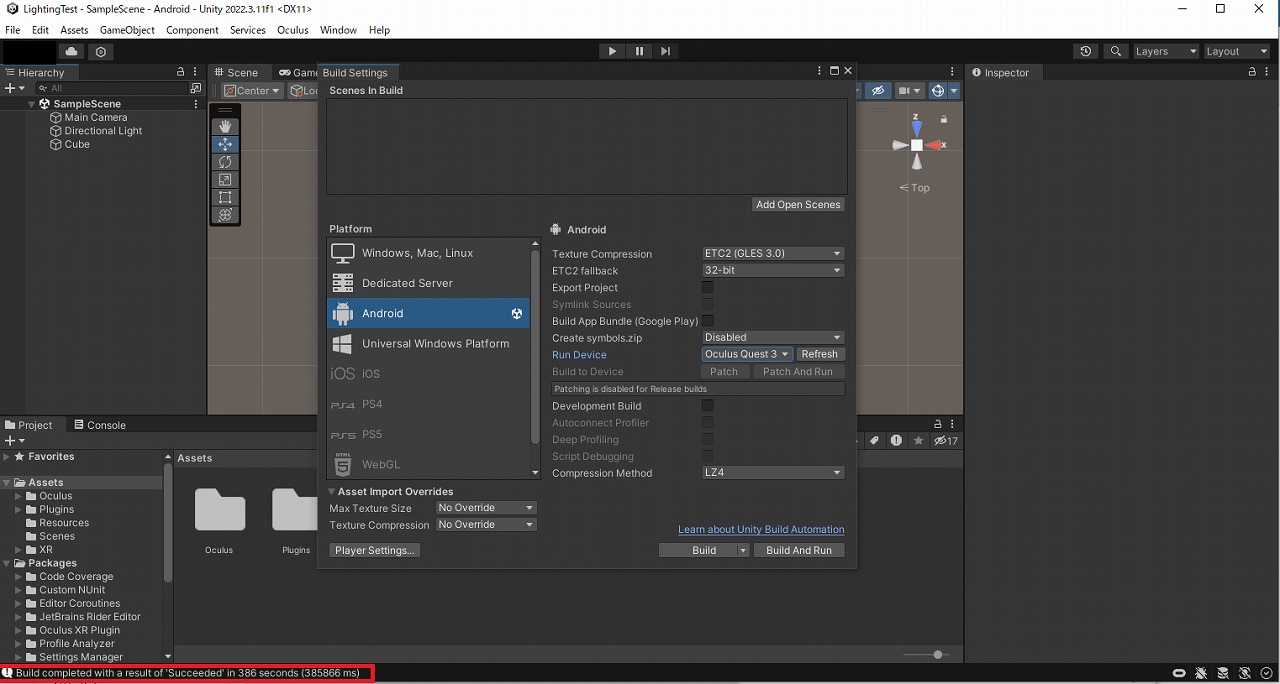
しばらくすると、ビルドが完了し実機でアプリケーションが起動します。
下の方に、エラーではなく「Build completed」と表示されると完了です。

実機を見ると、無事に豆腐(キューブ)がVRで表示されていました。
今回はここまでとします。
次回は、Oculus Integrationのサンプルシーンを、Quest3の実機で動かしてみたいと思います。